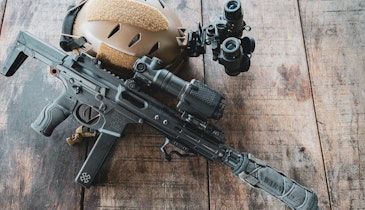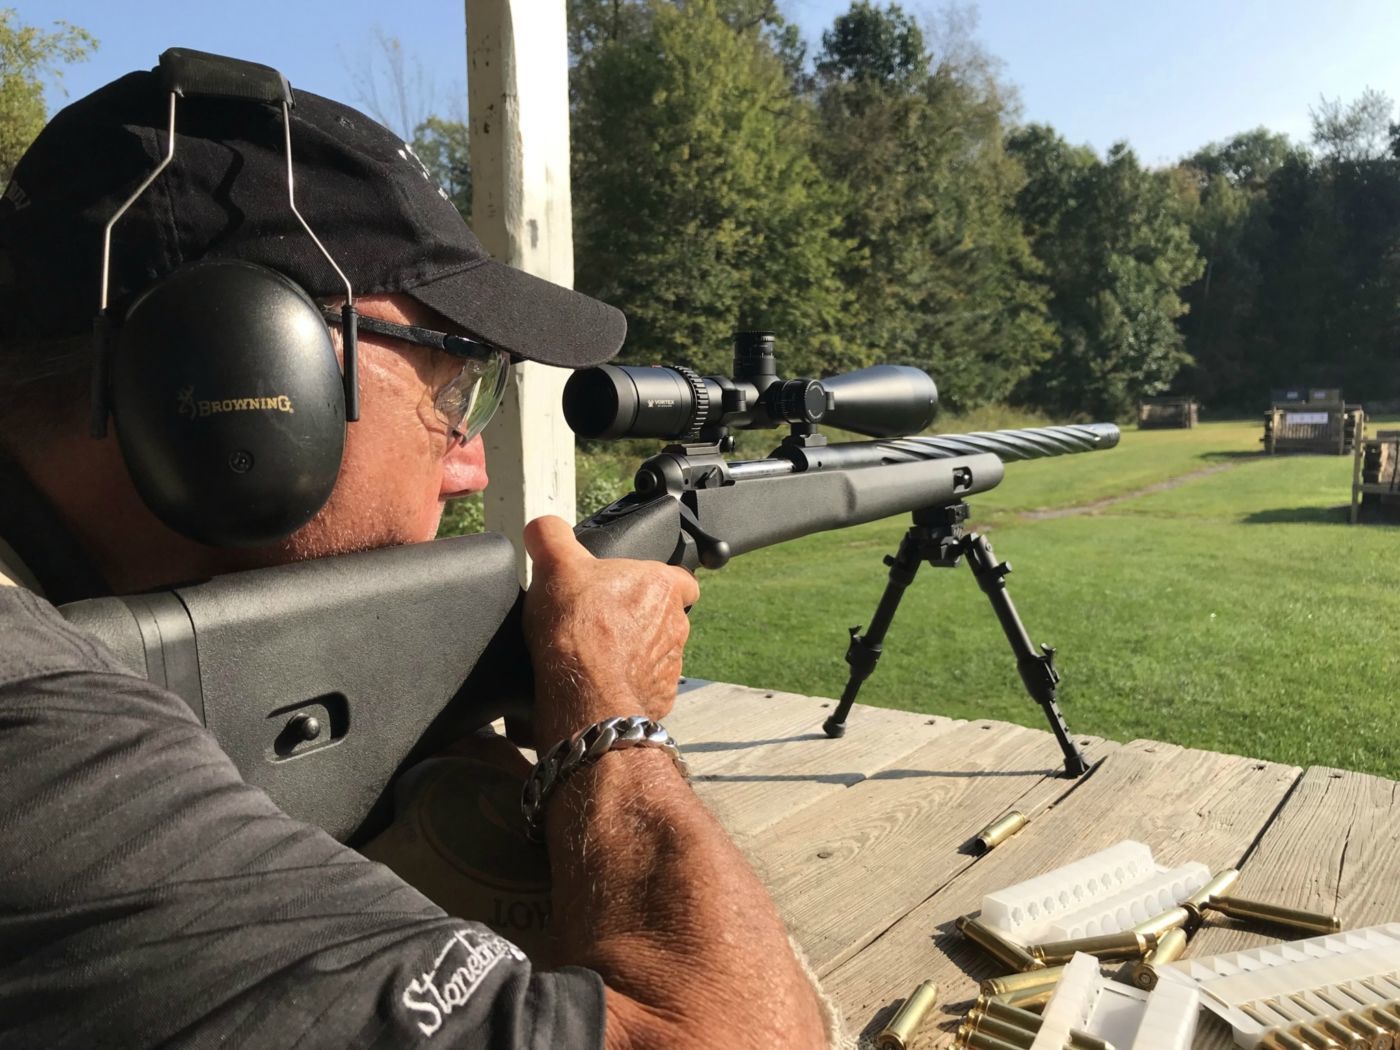
Understanding how riflescopes work and the terminology will help you better explain things to customers, thus helping make more sales. (Photo: Alan Clemons)
Our industry seems to make a habit of manufacturing confusion. For example, why do .38 Special and .357 Magnums have different names but use bullets of the same diameter? Why would we refer to a .357-inch bullet as a .38? Similarly, the topic of rifle scopes causes much confusion and angst. Concepts like focal plane, parallax and exit pupil can make the eyes glaze over and cause bunions, or so I hear.
Thankfully, while the optics industry uses lots of complex and confusing terms, the concepts are simple to understand once you visualize them. Let’s explore some concepts and features that will help you sell the right optics to your customers.
What is Parallax?
One of the least understood concepts in scope science is parallax. The word derives from “alteration” or “displacement.” It refers to the apparent difference in the location or position of an object based on the position from which it’s viewed. That’s a mouthful, so let’s break it down in terms of rifle scopes using an extreme analogy.
Suppose you’re shooting at a target 100 yards down range. Instead of placing your scope reticle on the rifle receiver, let’s say the crosshairs are on a super-long extended rail from your rifle 50 yards down range. You can still hit the target with great precision, as long as your eye is lined up precisely with the breech of the rifle, the crosshair way out front and the target. However, if your eye moves left or right relative to the breech, when you look at the crosshair, it will appear to float to the left or right of the target down range.
When using a scope, the magic inside superimposes the reticle and target image so both are in the same focal plane. To butcher optical science, you might think of the crosshair resting right on the target. If the reticle and target image are not coincident, then the opportunity for parallax shift exists.
A parallax adjustment on a scope allows the shooter to “focus” the reticle and target image so they are in the same plane. As a result, small movements of the eye relative to the scope won’t cause an apparent movement of the reticle and target image because they are virtually locked together. Not all scopes have parallax adjustment, however. In those cases, the manufacturer generally sets a fixed parallax focus adjustment, usually at 100 yards. For “close enough” work, this approach is fine, although it does require the shooter to maintain consistent eye placement relative to the scope.
Focal Plane
The simplest way to explain the concept of focal plane is to envision the placement of the reticle. Inside the scope tube, multiple lenses process the incoming light and repackage it in the desired manner for our viewing pleasure. One such lens function is magnification. If you think about the placement of the reticle relative to the magnification lenses, then you’ve got the concept of focal plane. Simply put, if the reticle is in front of the magnification lens system, then it will also be magnified before the image reaches your eye. If it’s placed behind the magnification lens, then the reticle will not be enlarged along with whatever you’re viewing.
First focal plane scopes have the reticle forward of the magnification lens, so the reticle will grow and shrink as you adjust magnification.
Second focal plane scopes are built with the reticle behind the magnification lenses so the reticle will always appear to be a constant size, no matter what the magnification selection.
Here’s why it’s important to understand the impacts of focal plane. Any reticle that’s more complex than a simple dot or crosshairs can be used to leverage the rules of proportion. Marks on the reticle can be used to “hold over” when aiming at a distant target or when shooting in a crosswind. These same marks can also be used to estimate range by comparing the size of a known object down range to its apparent “size” as measured by reticle marks.
As long as the reticle remains in constant proportion to objects viewed through the scope, these functions work consistently. If a deer appears to be one MOA or milliradian “tall” as measured by reticle marks, then that relationship will hold true as long as the deer and reticle are magnified together. If the reticle marks remain constant, but magnification settings make the deer appear larger or smaller, then that relationship breaks. At higher magnification, the deer might appear to be a half MOA or milliradian “tall” while at lower power levels it might appear to be a full MOA or mil. Of course, the deer hasn’t changed size in the physical universe.
If you think of the impact of inconsistent reticle/image relationship in terms of holdover, the problem becomes clear. If you are holding one MOA high at one power setting, that reflects a lot more real vertical drop at a low magnification than it does at a higher level.
So, here’s the bottom line. With a first focal plane scope, functions like holdover and ranging work at any power level because the relationship between reticle and target remains in sync. With second focal plane scopes, you’ll need to perform these functions at one power level. Most manufacturers design their reticles to be used at the maximum power setting.
Exit Pupil
One scope packaging specification that causes confusion is exit pupil. Think of this as the diameter of the light beam exiting the ocular (rear) lens and going into the eye. While not technically accurate, envision a cylinder of light.
The human eye pupil is the entry point for light. While the pupil is adjustable, it generally ranges in diameter from about 2mm to 7mm based on the amount of environmental light. Your pupil shrinks in bright light and expands in low light. In a perfect world, a scope would deliver a beam of light that exactly matches the size of the pupil. If the pupil and exit pupil are identical, every bit of available light is being delivered to the eye and nothing is wasted. By definition, and all else being equal, the result will be the best possible image that the eye can accept. If the exit pupil is smaller than the eye pupil, the eye and brain aren’t getting as much optical data as they can handle, and the image will appear dark and less clear.
In a perfect world, your scope would sense the diameter of your pupils based on current light conditions and adjust its output to match. In theory, that would provide the perfect image in any condition. In reality, things aren’t quite that automatic. However, it is possible to determine and adjust the exit pupil of a scope by adjusting its magnification settings. We’ll get into that next.
Objective Lens
The objective, or front, lens is the primary light gathering component in a scope. There’s a perception that bigger is better, but that’s not always true.
The objective lens is only one factor that determines the diameter of the exit pupil. The other factor is magnification level. Using the two, one can calculate the exit pupil by dividing the objective lens size in millimeters by the magnification power level. For example, a scope with a 40mm objective lens set at 4x magnification would have an exit pupil size of 10mm. If you adjust the power of the same scope up to 10x, then the exit pupil would shrink to 4mm. At higher magnification, a smaller “cylinder” of light is passed to your eye.
This can be useful in the field. In low light conditions, where the eye pupil is fully expanded to six or seven millimeters, it may be beneficial to adjust the scope magnification to a level that will generate an exit pupil of similar size.
Eyepiece Focus
Most scopes have a means of focusing the eyepiece itself. There will either be a ring for this purpose, or the whole eyepiece will rotate and move the lens closer or farther from the scope body. The purpose is to focus the reticle itself. That’s it.
Things get confusing because this eyepiece mechanism can also be used to focus the target image too. Don’t do that. That’s what the parallax adjustment is for. If you focus the reticle only with the eyepiece and the target image with the parallax adjustment, both will be crystal clear.
Fortunately, if you’re the only one using your scope, the eyepiece should be a one-time or very infrequent adjustment process. To set it, just point your scope at a white or plain background like the sky. Take a quick look to see if the reticle is in sharp focus. If it’s not, adjust the eyepiece. It’s important to do this exercise in short bursts or your eye and brain will try to compensate and focus the reticle on their own. The goal is to prevent your eye from having to work to focus the reticle. Once you get it focused, lock it down. From that point on, your reticle should always be in focus. To make the target crystal clear, use the parallax adjustment knob or wheel.
Lens Coatings
Almost every modern scope comes with layers of lens coatings. This isn’t just marketing hype, the coatings have a purpose and make a big difference in optical clarity. While there are different types of coatings for different purposes, the most common goal is to reduce light reflection. When light strikes a clear glass lens, a certain percentage bounces off instead of passing through the lens. Anti-reflective lens coatings minimize the amount of light that’s reflected so more passes through, ultimately to your eye. The result is a brighter and clearer image.
While the terminology on the box can seem confusing, a basic understanding of some key optics principles can help you guide your customers through informed decision processes to pick the right optic for their needs.