The National Shooting Sports Foundation (NSSF) estimates five million people purchased their first firearm sometime between January and mid-summer 2020. Concealed carry classes and training seminars are booked, waiting lists are long and all-new faces are eager to find a trustworthy shop that specializes in guns, ammo and all the right accessories at a reasonable price.
NSSF research indicates it’s tactical retailers that have what they’re looking for. The organization’s survey found new owners are focused almost exclusively on self-defense and protecting their loved ones. You likely experienced the same trend as the pandemic slowly unfolded and civil unrest spread across the nation.
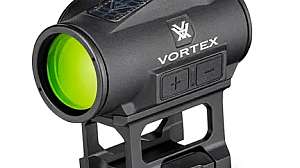
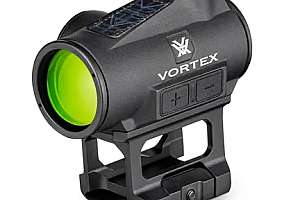
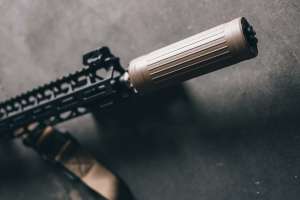
The market that has expanded most, though, is handguns. They outsold long guns by roughly a two-to-one margin in 2020, according to the FBI’s NICS background check statistics. That’s a lot of pistols begging for a weaponlight or, better yet, aftermarket laser/flashlight combination to handle those nighttime home invasions.
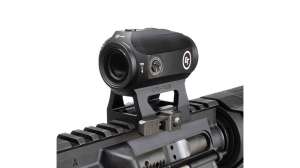
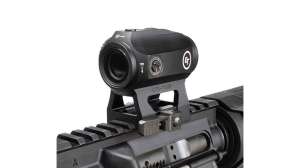
Veteran gun owners are familiar with handgun laser systems and know their fight-stopping effectiveness. Those relatively new to firearm ownership, on the other hand, have likely only seen them on TV and never witnessed the show in real life. A simple demonstration and explanation of the tactical advantages and operation, in simple terms, goes a long way in building trust. Installation may be fast and effortless, but it’s the kind of value-added service that often creates loyal customers.
For obvious reasons, the pistol must have an accessory rail for attaching the laser/weaponlight. Their length, however, varies by make and model, and you don’t want the light and laser lens forward of the muzzle. Plus, it’s critical that the activation paddles/switches are close enough to the trigger finger for manipulation under stress. When in doubt, consult the manufacturer’s website to ensure proper fit.
Once you’ve determined the right model and discussed laser color, open the package and inventory parts. Some have a lot of components or adapters designed to move fore and aft slightly on different handguns. Make sure they’re all there before proceeding.
Then, as always, make the firearm safe. First, drop the magazine and move it and any ammunition away from your work space.
Next, ensure there is no cartridge left in the chamber. Rack the slide and visually inspect using a flashlight if necessary, or by feel.
Do not be in a hurry to install the battery or batteries on the laser yet. Leave it (them) out while doing the prep work — yet another safety procedure, this one to protect everyone’s eyesight during the next couple of steps.
Inspect the weaponlight/laser surfaces that will affix (make contact) with the gun and rail. Clean any debris there to ensure the fit is tight and minimize chances of it working loose under recoil. That shift in point-of-aim weeks from now doesn’t speak well for your store’s services.
Take a quick look at the laser and flashlight lenses. Odds are good they’re crystal clear if the unit just came out of the package, but Styrofoam and packaging love to sneak into odd spots.
You also need to clean any debris from the pistol’s rail. If it’s a carry gun, or one that’s obviously been well-used, expect sludge.
Consult the manufacturer’s instructions and install any adapter or spacer required for installation on the owner’s firearm. If one is recommended, make sure it snaps firmly into place on the laser/weaponlight body.
Now’s the time to install the battery or batteries. Once that’s complete, point the unit in a safe direction and make sure it operates properly. This is also a good time to let the customer take it for an unmounted ride.
The unit now goes onto the firearm. Make sure the activation paddles are readily accessible by the trigger finger. Hold pressure forward on the unit as you tighten the nuts or bolts — another step to minimize risk of it shifting under recoil.
The final step is to get the gun on paper. Nearly every unit manufactured today has been “sighted” at the factory, but you can check by placing the gun in a rest or handheld, if you’re steady enough. Use the traditional sights, in a safe direction, and aim at a target hanging in the shop. Activate the laser and it should print on the same bull’s-eye.
If not, follow the directions to adjust elevation and windage as needed. Share those instructions with the new owner. They’ll appreciate the ability to change point of aim as they explore the brand-new and ever-changing world of self-defense loads. You might point a few out while you’re at it.