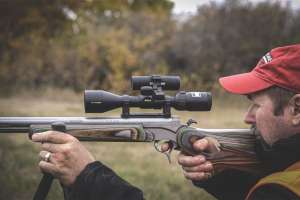
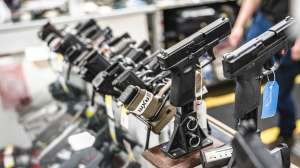
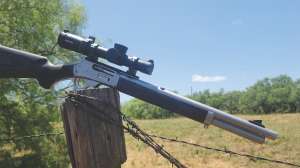
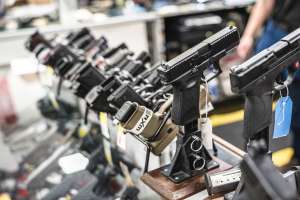
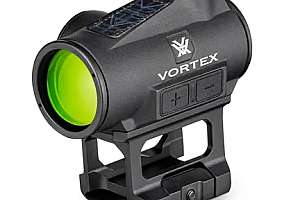
Handgun optics might be the biggest craze in the gun industry. Customers are looking for optics-ready handguns and are even sending their current slides to custom shops specializing in RMR slide cuts. And it’s not just the polymer, striker-fired weapons; even my beloved Beretta 92 and 1911 can now be purchased in optics-ready form.
You’ve no doubt added accessories to a gun without reading the manual that came with it, and your customers are likely to do the same when they get home with their new optic. Unfortunately, it can be a recipe for disaster. So, let’s look at the proper way to mount optics (and some things not to do) so that you’ll be able to help your customers as they enter the red-dot craze.
Mounting Plates
There is no standardization between companies when it comes to optic mounting systems. That means it’s not possible to just secure any optic on any gun. Each manufacturer has its own designs. Fortunately, most RDO handguns come with an assortment of mounting adapter plates making it possible to use most gun/sight combinations. But mounting an optic is a little more than just selecting the correct adapter and screwing it into place.
The screws aren’t the only thing holding optics in place. There are also protrusions between the plate and the optic that serve multiple purposes. First, they ensure that the optic is properly aligned with the bore. Second, they help secure the optic to the slide during the immense recoil forces involved.

Powerful Forces
You may be familiar with the term “G-force” from hearing about pilots or astronauts during steep ascents or turns in their aircraft. It’s a comparison using the gravity as experienced on Earth as 1 G-force. As the force rises, it is compared to Earth’s gravity. Two G’s would make you seem twice as heavy as you are now. Four G’s would quadruple your weight. The same measurement is used when calculating forces acting upon weapons and is typically referred to as “gun and optic G-force.” On a semi-automatic handgun, it’s a measure of the force on the slide and anything attached to it when firing.
To give you an idea of how intense these forces can be, let’s look at a typical 9mm load fired from a 5-inch barrel. A 115-grain 9mm bullet fired at a velocity of 1,050 fps generates over 500 G’s. If the optic is not properly mounted and protected from this force, it may come flying off when the gun is fired. Your customers probably won’t be happy if their $500 optic flies off on the first shot. They’ll be even less happy if their slide is damaged and must be sent out for repair.
This takes us back to reading the instruction manual and following directions. Not only does the proper plate need to be selected, but your customers must also select the proper screws based on length and then torque them to the proper specification. This is critical and shouldn’t be guesstimated. If too loose, they will back out over time. If too tight, they may experience too much stress and shear (read as flying optics). But there’s no standardization on these torque specifications either. My Trijicon optic specifies 12 inch-pounds of torque, my Sig specifies 9 inch-pounds, my Holosun calls for 15 inch-pounds, and finally my Leopold calls for 25 inch-pounds.
The correct torque matters for both hold and consistency. If one side is tighter than the other, the recoil forces with act differently from side to side and could damage the optic. Make sure customers aren’t guessing at the torque. Discuss the need and sell them the proper tool for the job.
It’s recommended that you use a thread-lock compound on the threads before tightening them. I use Blue Loctite, which is meant for semi-permanent installations. Never use red Loctite. It is only for permanent assemblies, and some optics must be removed to replace their batteries.
It’s also a good idea to order extra screws and keep them on-hand. Screws stretch after being removed and re-torqued repeatedly and should be replaced. I’ve seen no set recommendation on this from any of the manufacturers, but if the screw sensitivity is measured in inch-pounds, I choose to be safe. I’ve also been known to drop small screws, pins and springs — another good reason to have backups available.

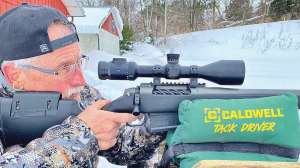
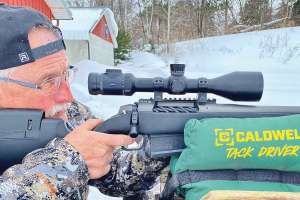
Range Time
Once an optic is properly mounted, it’s essential that your customer spends enough time on the range to develop the consistency needed before they decide to carry their new setup.
It’s easy to shoot a few rounds and feel confident, but if you’re used to standard sights, it’s going to take a lot of practice to adapt to the new feel of the gun and break the habit of looking for sights. It’s disconcerting to search for sights when the optic doesn’t permit co-witnessing. That will create a delay in the self-defense response — something we never want when lives are on the line.
Most of the optics-ready guns come from the factory with suppressor-height sights that allow the optic and sights to work together. Others don’t. (The Leopold optic on my Glock actually replaces the rear sight). There are pros and cons for and against co-witnessing sights. It’s personal preference. My preference is to be able to co-witness the sights, but as with my Glock, it’s not always possible. Whichever choice your customer makes, they are going to have to adapt to the new setup, so the training is essential. When you sell an optic, you should be selling about 500 rounds of practice ammo to go with it.
All these details may seem like common-sense to the average gun salesperson, so it’s easy to assume they’re common sense to everyone. Don’t assume customers know what to do or understand the importance of following the proper steps. This is true for even the most experienced shooters. I’ve been a firearms instructor for decades but have only recently delved into handgun optics. Fortunately, I’m not usually one to skip over instruction manuals or skimp on training. It’s up to you to teach your customers. Explain what equipment, tools, accessories and training go along with their purchases.
Check off these boxes to guarantee that your profit line and your customers will be satisfied.