One of your key advantages over online sellers and big-box retailers is that you can provide face-to-face service. Teaching your customers how to properly zero and run optics is a great opportunity to show customers your expertise and provide some extra value that your online competitors can’t. There are at least two common ways to properly zero a scope — the “mash” method and the “math” method.
The “mash” method involves firing a carefully aimed shot at a target downrange, then realigning the sights with the original point of aim. A partner “mashes” the rifle into the sandbags or supports, holding the rifle so the crosshairs are perfectly on the original aiming point. The shooter adjusts the windage and elevation turrets until the crosshairs are centered on the actual impact point. The “mashing” part is important, as the rifle cannot move while the shooter is adjusting the scope. In theory, this method is a way to zero a scope with one shot, but I don’t think it’s particularly precise or convenient.
The “math” method involves a little teaching that you can do right in your store to help your customer understand the basic principles of how scopes and turret adjustments work. I’m convinced this is an area of great educational opportunity, as I see shooters at the range going through boxes of ammo while furiously spinning adjustment dials until they finally leave in frustration with a still un-zeroed optic.
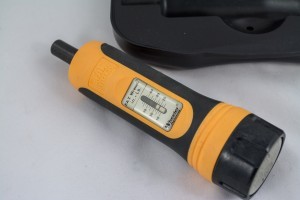
This wheeler engineering torque wrench is a must have for frequent scope mounting.
The first step is to make sure the optic is properly mounted and with the correct amount of torque on both ring, screws and bases. Mounting a scope is in itself a great service opportunity for your store, as doing it right will require a couple of pieces of equipment that most customers won’t have readily available — a torque wrench and perhaps a ring lapping kit if you want to get fancy. If you do decide to provide optic-mounting service for customers who buy scopes from your store, it will be worth your while to invest in a bit of equipment. Most optics and ring vendors will specify their preferred mounting torque, but if not, tightening scope rings to 25 inch-pounds is a good rule of thumb. That will hold the scope steady without bending the tube.
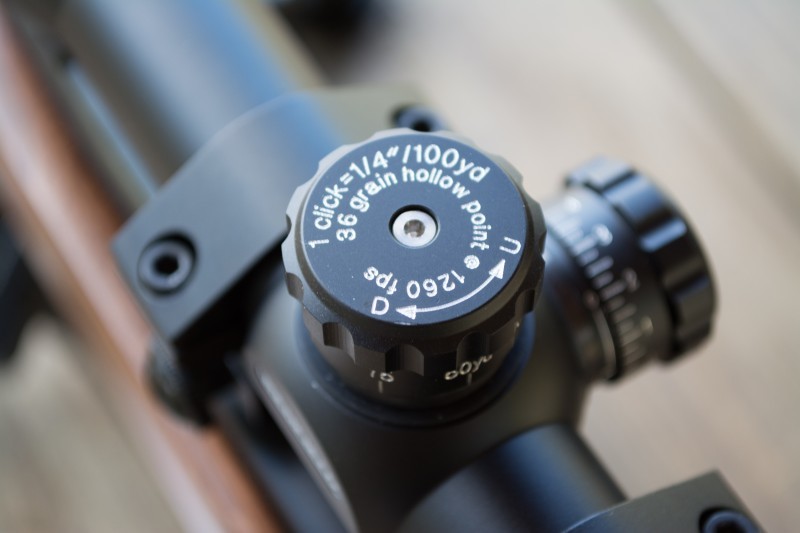
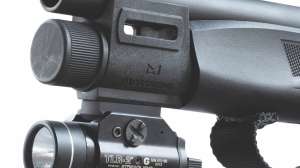
This .22lr scope has all the information you need to do the “math” method of zeroing. Each click will move the point of impact 1/4-inch at 100 yards.
Once the scope is properly mounted, it’s time to plan out the zeroing strategy. Most scopes are consistent enough with their elevation and windage adjustments that you can plan the required adjustments on paper after firing a couple of shots. The actual results after the theoretical adjustment will be close to the desired result. The theoretical calculation is fairly easy, as every modern scope I’ve seen has units of adjustment printed right on the windage and elevation dials. The most common measurements seem to be ¼-MOA-per-click, although I frequently see ½-MOA-per-click and .1-Mils-per-click adjustment increments.
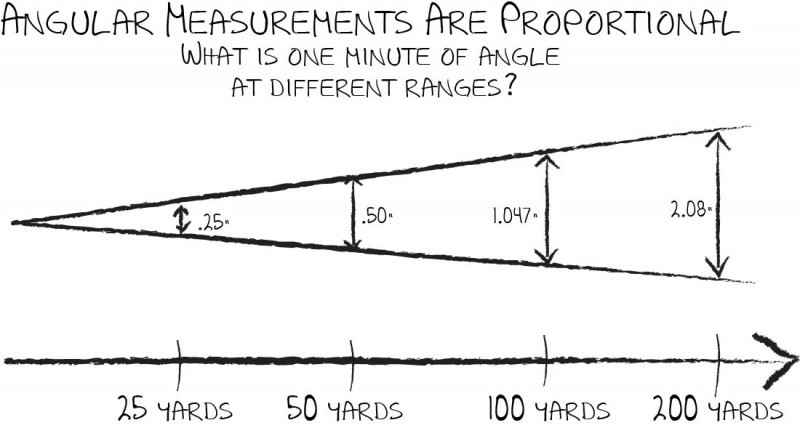
A minute of angle (MOA) is an angular measurement that translates to just over 1 inch at 100 yards. Since angular measurements are proportional, you simply adjust for any other distance. If one MOA is 1 inch at 100 yards, then one MOA is ½-inch at 50 yards, since 50 yards is half the distance of 100 yards. Likewise, one MOA is ¼-inch at 25 yards and 2-inches at 200 yards. Understanding the concept of minutes of angle is critical to easy scope zeroing and use, as it allows you to easily match the actual point of impact with the crosshairs of the scope at any distance. The best part is that you can educate your customer on this in the store using their new scope as a teaching aid.
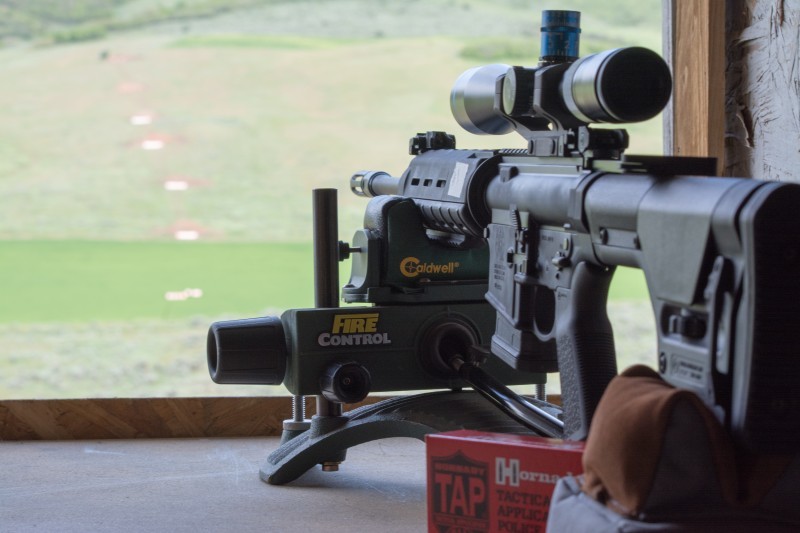
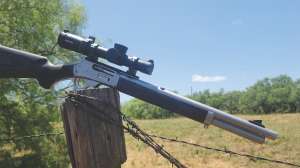
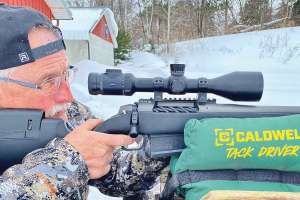
It’s critical to use proper rests and sandbags when zeroing to eliminate other variables. If the shooter is skilled, a supported prone position can be even better.
I recommend firing a three-shot group at a target 100 yards downrange. Why three shots? As you’re giving advice in the store, you really can’t evaluate the shooting skill of your customer. Are they a hunter who pulls the trigger a half dozen times a year or a competitive shooter who fires thousands of shots per month? A carefully fired, three-shot group will establish an average position that shows the difference between the point of aim and point of impact.
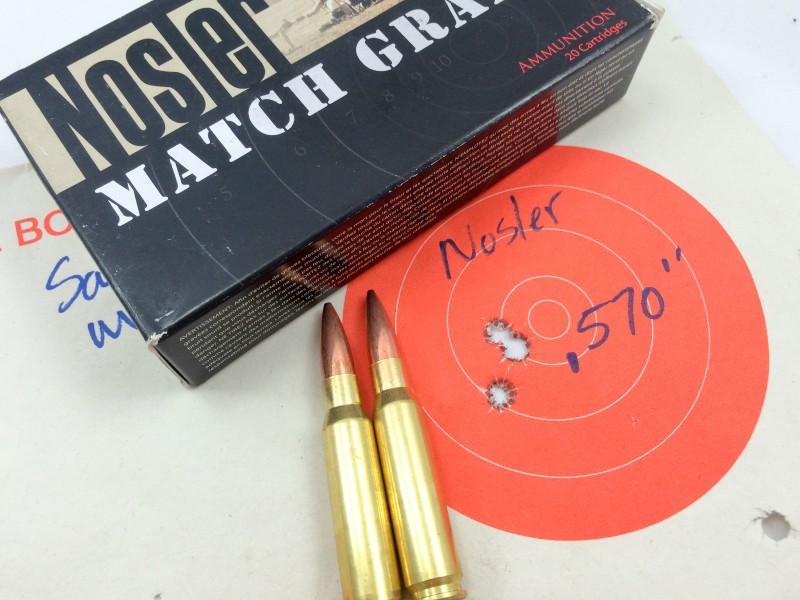
A three-shot group will give confirmation that everything else is consistent before you start messing with scope adjustments.
Once the initial three-shot group is fired at 100 yards, it’s time to evaluate how far the center of the group is from the aiming point. The easy way to do this is to use sighting targets with 1-inch grid patterns. If the center of the group is two squares above and one square to the left of center, that tells you that the scope needs to be adjusted 2 inches down and 1 inch to the right. Be sure to sell sighting targets in your store!
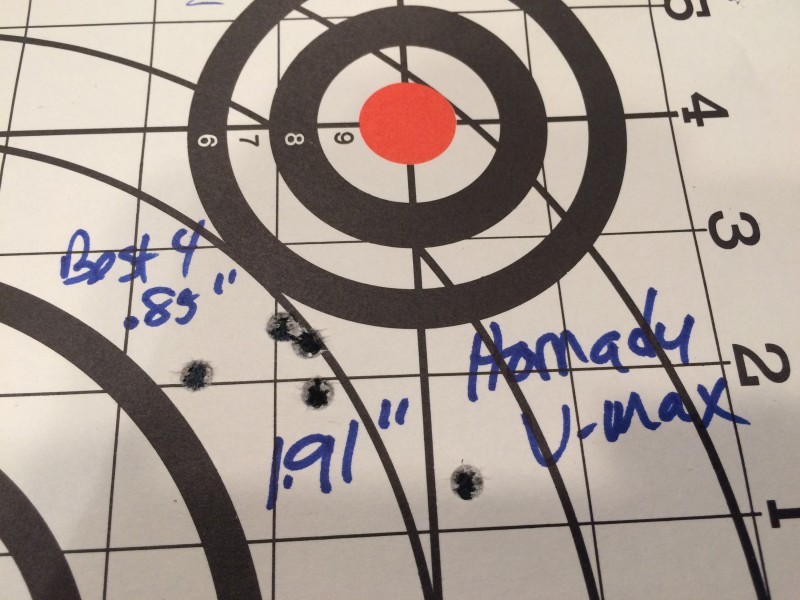
I would disregard the flyer to the lower right and adjust the scope up 2 inches and 1 inch to the right. The 1-inch grid pattern on this target makes adjustment calculations easy.
Now that we know how far the point of impact is from the point of aim, it’s time to implement the math. Going back to your example, suppose the bullets hit 2 inches high and 1 inch left. Now it’s time to correlate that difference in point of impact with the effect of each click of the windage and elevation dials.
If this scope is a ¼-MOA-per-click variety, then each click will move the point of impact ¼-inch at 100 yards. We’ll need to spin the elevation dial enough to move the point of impact down 2 inches. Since each click is ¼-inch, that would be eight clicks down. We also have to adjust 1 inch to the right, or four clicks to the right using the windage dial.
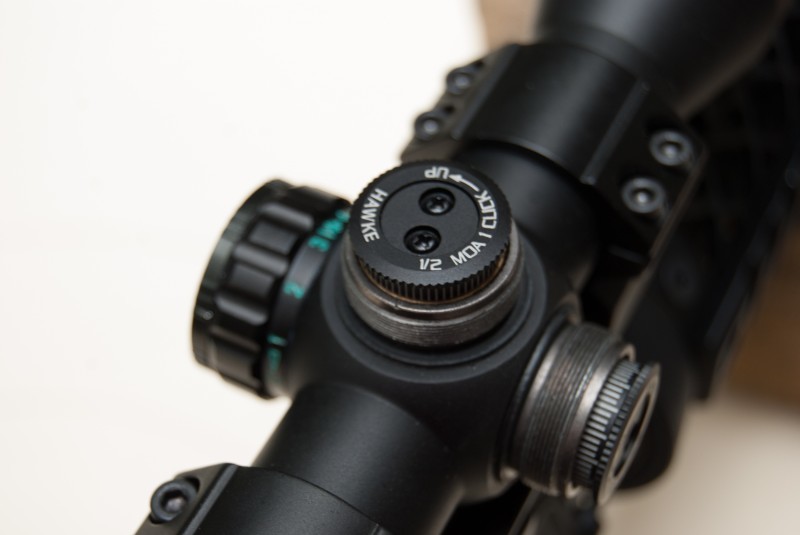
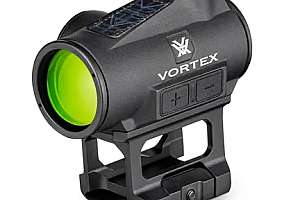
The elevation direction is clearly indicated on this Hawke optics scope. Each click in the counter-clockwise direction moves the bullet impact up ½-inch at 100 yards.
Remember, the directional arrows on scope dials and turrets imply the direction you want the bullet to move. If the windage turret has an arrow pointing counter-clockwise and marked with an “R,” then each click in that direction will move the bullet impact to the right.
Once the theoretical adjustment has been made, it’s time to shoot another three-shot group. Odds are pretty good that the new group will be just about right at the point of aim. If there is a slight variance, then just redo the math, make click adjustments as needed and retest the group.

Some scopes like this one have click adjustments measured in .1 milliradians. That works just like minutes of angle, except 1 mil is 3.6 inches at 100 yards, so .1 mil clicks shift the bullet impact .36 inches at that distance.
Is it possible to zero a scope with fewer shots? Absolutely — but remember, you’re giving instruction to a shooter of unknown experience and skill in your store and you won’t be at the range to help. Your best bet is to educate the customer on the process and underlying science in order to improve their chances of success at the range.